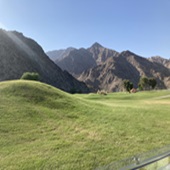
15-day itinerary
The summary sheet below outlines our Japan itinerary. We use this format to plan our trips at a high-level before drilling down into the details for each day.
| Day | Overnight Stay | Hotel | Train Reservation (High Speed – Shinkansen) |
| 1 | Fly from your home country | ||
| 2 | Tokyo | Ginza District hotels | No train reservation required |
| 3 | Tokyo | Ginza District Hotels | No train reservation required |
| 4 | Tokyo | Ginza District Hotels | No train reservation required |
| 5 | Tokyo | Ginza District Hotels | No train reservation required |
| 6 | Fuji | Fuji Hotels | Train reservation (not high speed) |
| 7 | Fuji | Fuji Hotels | No train reservation required |
| 8 | Hakone | Hakone Hotels | No train reservation required |
| 9 | Kyoto | Kyoto Hotels | Train reservation (high speed) |
| 10 | Kyoto | Kyoto Hotels | No train reservation required |
| 11 | Nara | Nara Hotels | No train reservation required |
| 12 | Nara | Nara Hotels | No train reservation required |
| 13 | Hiroshima | Hiroshima Hotels | Train reservation (high speed) |
| 14 | Hiroshima | Hiroshima Hotels | No train reservation required |
| 15 | Tokyo | Haneda Airport Area Hotels | Train reservation (high speed) |
| 16 | Fly back to home country |
Pre-travel Tips
- Tokyo has two airports, Haneda International Airport and Narita International Airport. We recommend flying in and out of Haneda because it is only a 30-minute monorail or train ride to Shinagawa Station in Tokyo. From Shinagawa Station you can walk to the Toei Metro line, which provides access to most parts of Tokyo.
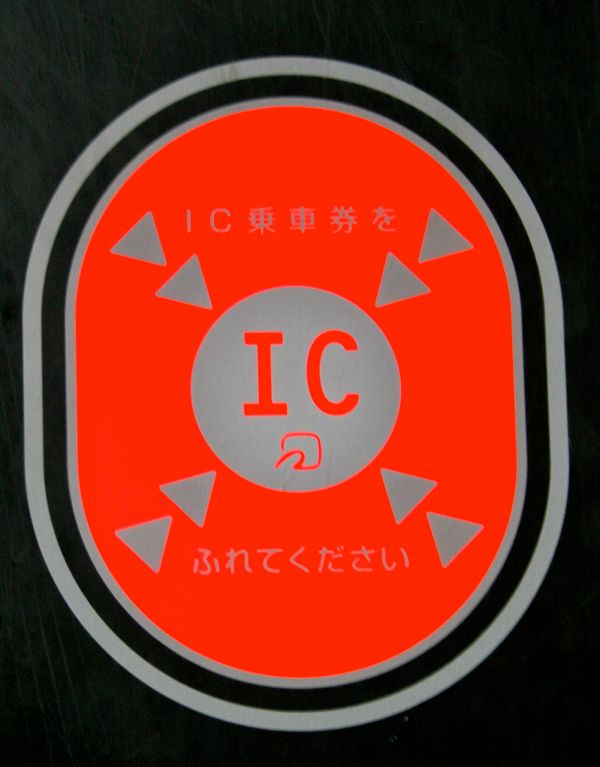
- Buy and load Suica or PASMO cards for use in Japan. The kiosks can be found after exiting Haneda airport customs. To avoid doing this at the airport upon arrival, we recommend putting a Suica card on your iPhone Apple Wallet before leaving your home country. You can load the mobile Suica card with Yen and use it at most metro Kiosks in Tokyo. We found that 3000-5000 yen is plenty to get started. Click here to learn how to do this. Just hold your phone over the IC symbol at metro turnstiles displaying that symbol.
-
- Apply for a debit or credit card that doesn’t charge foreign transition fees. This will save money during the trip.
- We recommend having some Yen on hand. ATMs can be found throughout Tokyo. Most Kiosks/ATMs have an “English” button which provides translation.
- Refrain from talking on your phone while on the train and keep conversations at a very low volume.
- While Japan is a very safe country with a culture that is extremely respectful of others, consider picking up a cross shoulder, anti theft travel bag before leaving on your trip to Japan.
- Download the Shinkansen smart Ex app on your iPhone a few months before you leave for Japan. Purchase your high-speed Shinkansen train tickets via the app. Note that all credit cards will not work with this app. In our experience, Discover and Amex cards worked, but VISA cards did not work. We recommend choosing ordinary seats vs. green car (first class seats). The trains are incredibly spacious and clean. Using the Smart EX app provides the boarding bar code on your phone. Note that when you scan the barcode at the train turnstile, it will print out a paper ticket. Make sure to take this ticket as well. Review luggage size requirements here. Be prompt about entering and exiting the Shinkansen trains. The trains are prompt and there is minimal time for boarding and exiting.
- If you follow this 16-day itinerary, it is unnecessary to by a JR pass. It is cheaper to buy Shinkasnsen tickets individually vs. using a JR pass for a 16-day trip. A JR pass is a bit more convenient, but seat reservations are still required.
Day 1 – Arrive in Tokyo
Day 1 plans
1
Travel from airport to your hotel in Tokyo. If flying into Haneda, we highly recommend taking the Monorail. It takes less than 30 minutes to get from Haneda to Shinagawa station on the rapid line; and you will see some of Tokyo along the way. If flying into Narita, there is also a train, but you could consider a private transfer using a Limousine Transfer service. Cabs are very expensive in Japan and Uber doesn’t save you money.
2
You will be tired and jet-lagged on your first day in Japan. Drink lots of water and resist the urge to sleep. Consider strolling through the Tokyo Imperial Gardens and/or a Tour of the Tokyo Imperial Palace if time permits. We took removed our shoes/socks and “grounded” at the Imperial Gardens shortly after arriving. It helped our jetlag.
3
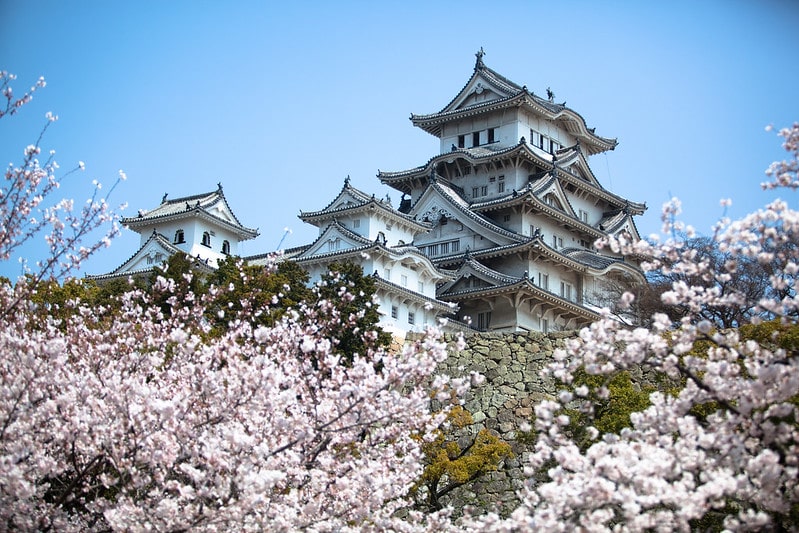
If staying near the Ginza district in Tokyo, consider taking a stroll along the Chuo Dori (main drag). The street is closed to pedestrians only on the weekends. Ginza is one of Tokyo’s top shopping districts. Many cocktail and sushi bars can be found in this district.
4
Try some Ramen on Tokyo Ramen Street near Tokyo station. Many shops have vending machines. You order from a vending machine, and it provides you a ticket. You then hand the ticket to a waiter, who will put in your order and seat you. Tokyo Station’s exterior was modeled after European architecture and is very beautiful.
Day 2 – Explore the Odaiba and Asakusa districts
Day 2 includes exploring 2 different areas of the eastern side of Tokyo. In my experience, staying in the Ginza district of Tokyo made these areas very accessible via the Toei metro line and Yurikamome line (designated by blue U). Click here for the Toei metro map. Click here for Ginza hotels.
Odaiba
Odaiba is a high-tech entertainment district on an island in the Tokyo Bay. Consider spending your morning on this island. From the Ginza district you can either walk (40 -minute walk) or take the Yurikamome line from Shinagawa station.
Day 2 Plans – Odaiba
1
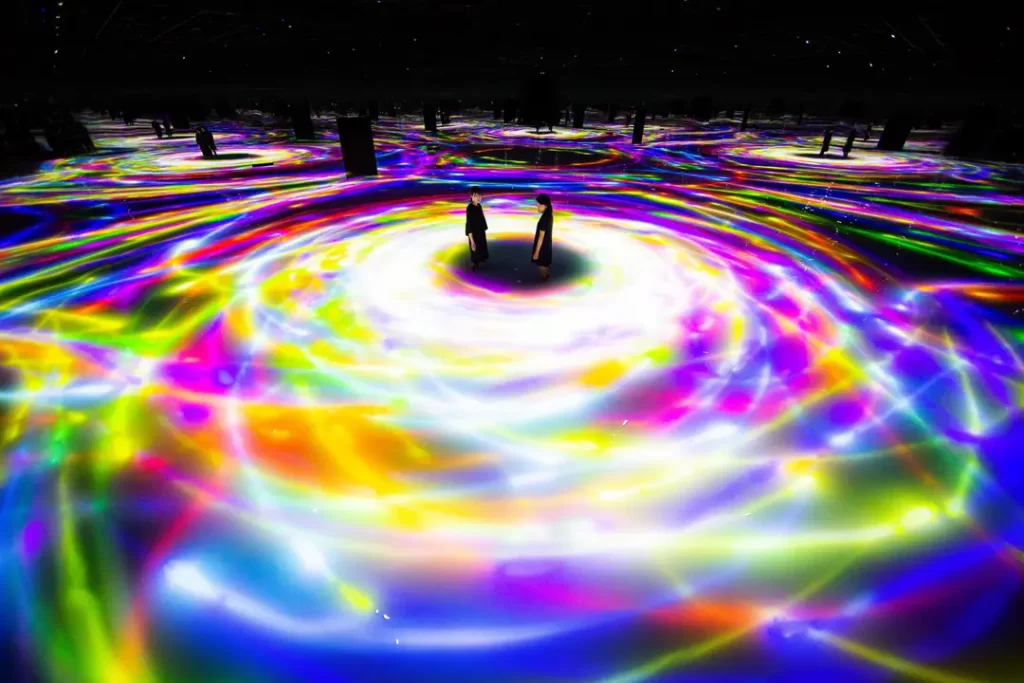
One of our favs in Odaiba is TeamLab Planets. It can be described as an interactive modern art museum. You must walk bare foot through the attraction. There are areas where water comes up about a foot, so be prepared to roll up your pants. Click the image below for tickets. Book early because the tickets sell out months in advance.
2
Check out the Tokyo Tsukiji Fish Market. It is closed on Sundays. We enjoyed the Tokyo Tsukiji Fish Market Food and Culture Walking Tour.
3
Check out Small Worlds Tokyo. Small worlds Tokyo is considered the largest indoor miniature theme park. Get your tickets here.
4
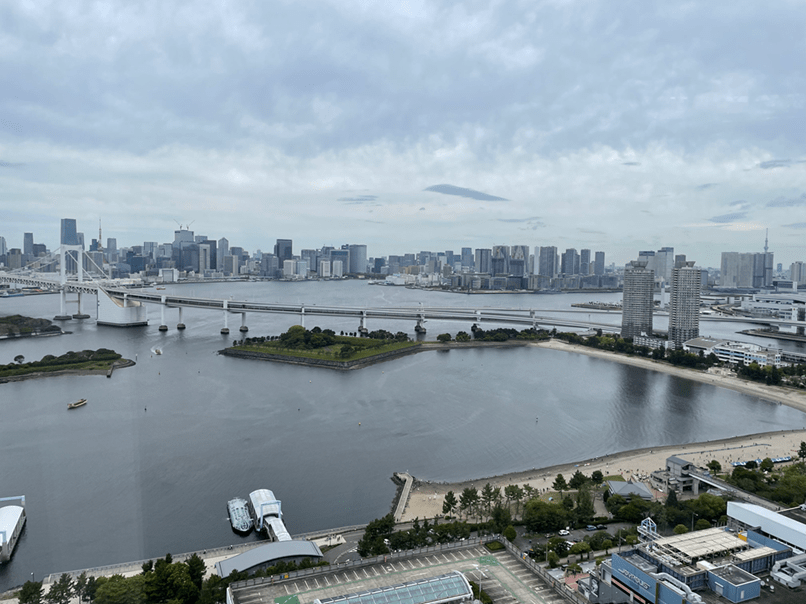
Take a walk to the Fuji TV building and go up to the observation deck for great views of Tokyo. There is a small fee to get up to the deck.
5
Visit The Soho. This is a modern building with colorful doors and is a great place for photo ops.
6
Take the Yurikamome line from around the Fuji TV building area back to Shimbashi station. At Shimbashi, switch to the Toei, (A)Asakusa line. Get off at Asakusa Station to explore the Asakusa area.
Asakusa
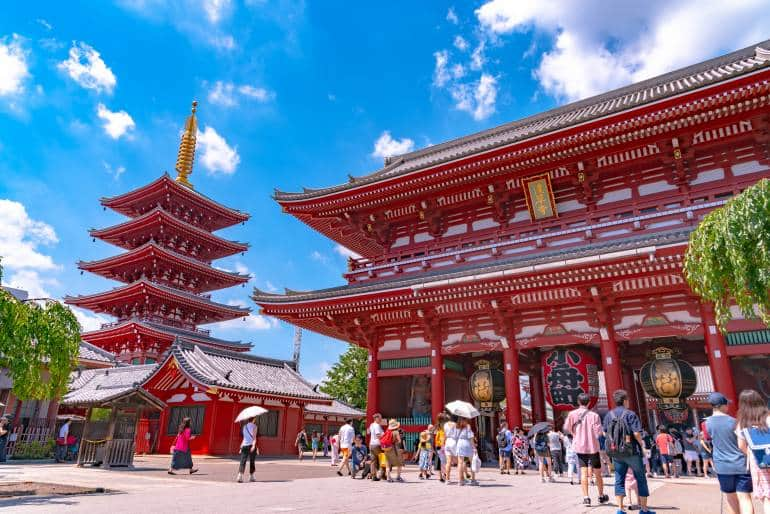
Asakusa is the center of Tokyo’s Shitamachi district. The atmosphere here is an older Tokyo. The main attraction in this area is the Sensoji, a popular Buddhist temple built in the 7th century. Approach the temple via the Nakamise, a shopping and eating area in which temple visitors can sample a variety of traditional local snacks and purchase souvenirs.
Day 2 Plans – Asakusa
2
You will pass through the Kaminarimon Gate on your way to the temple. This area is bustling with lots of tourists and has street food and souvenirs.
1
Consider booking one of these interesting activities in the Asakusa area
3
Explore the Senso-ji temple.
4
If you wish to immerse yourself in Japanese tradition, consider dressing in traditional Japanese kimono and stroll through the charming streets of Asakusa. You can find kimono rentals here.
5
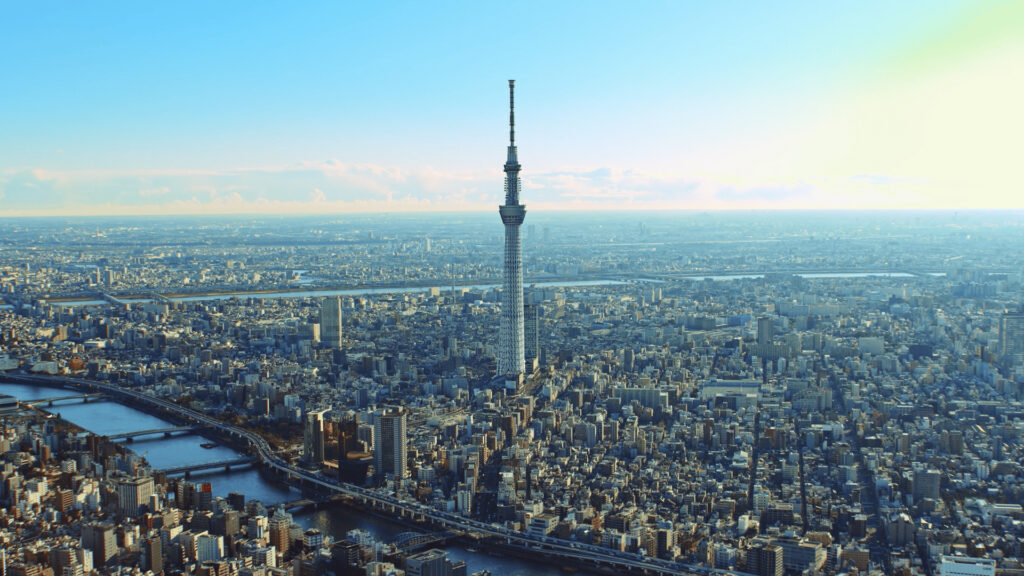
Walk to the Tokyo Skytree observation tower which is the second tallest building in the world. We recommend buying advance tickets here. You can buy same day tickets on the 4th floor but may have to wait in long lines. Views from the top are amazing. There are two decks. The Tembo Desk is at 350 meters, and the Tembo Galleria is at 450 meters. You can see Mt. Fuji on a clear day.
6
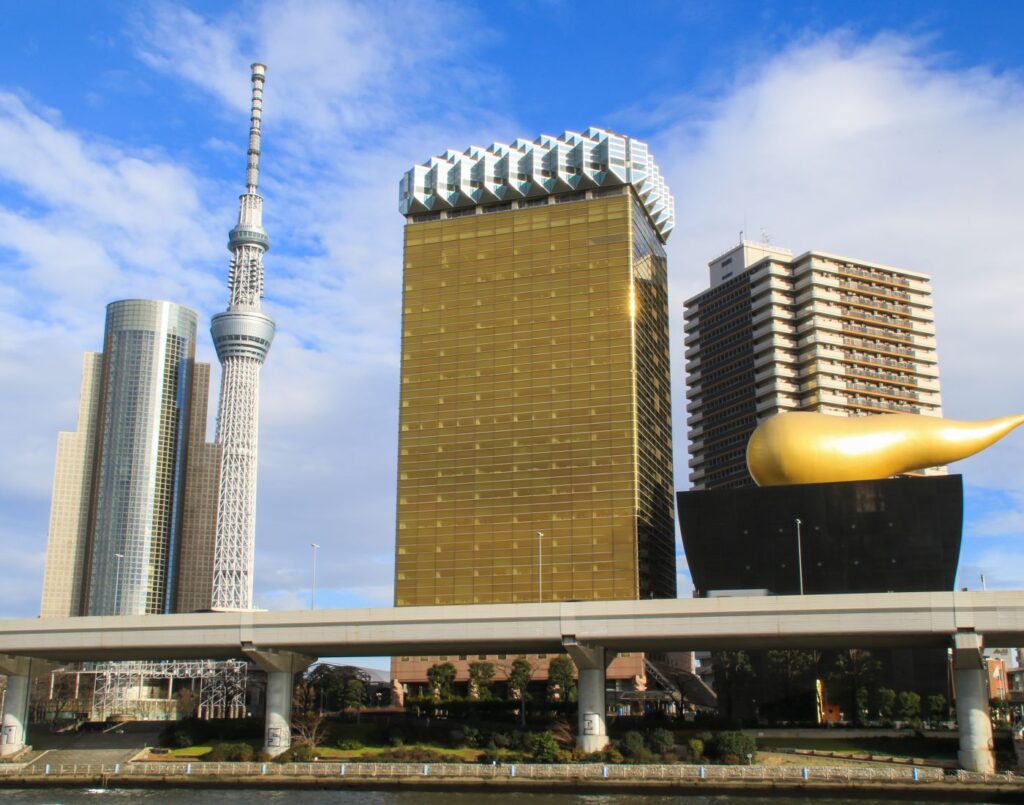
To finish off your day with a reward, walk to the Asahi Super Dry Corp HQ beer tasting hall. The building is a strange black box with a gold cloud on top. Go inside and take the elevator to the beer hall. There can sometimes be a long wait, so be prepared. There are nice views of the area from the top, but in our opinion, the views are not as spectacular as from the Skytree deck.
7
Jump back on the Toei, Asakusa line back to your hotel. If you have time and wish to explore, stop by the Akihabara area off the Asakusa line. The Akihabara area is known for electronics retailers. If you enjoy arcade-like atmospheres, this area will be fun. Anime/manga is popular in this area also. Consider dropping into a maid cafe for a snack. Maidreamin was our favorite cafe in this area.
Day 3 – Shinjuku City
Neon-lit Shinjuku City is filled with clubs, upscale hotel bars, karaoke rooms and restaurants. This is known as the Skyscraper district. This area also has a free, popular observation desk located in the Tokyo Metropolitan Buidling.
Day 3 Plans – Shinjuku City
The easiest way to access Shinjuku City is via the Toei E line. Exit at E25 (Kokuritsu-Kyogijo Station) to begin your day in Shinjuku City. As an alternative, you can switch hotels at this point and stay closer to Shinjuku City or Shibuya. This will make your travel a bit easier instead of going back and forth between east and west Tokyo. Shinjuku Area Hotels
1
Book a Tokyo Bar Hopping Night Tour in Shinjuku at least one month before your trip. It will give you a chance to explore the well-concealed back-alley bars of Tokyo’s Shinjuku district that is tricky for outsiders. This tour was a highlight of our trip.
2
After getting off at Kokuritsu-Kyogijo Station, make your way to Shinjuku Gyoen National Garden and explore the grounds.
3
If you like shopping, explore the Takashimaya (Times Square Building). i It has 15 floors of shopping.
4
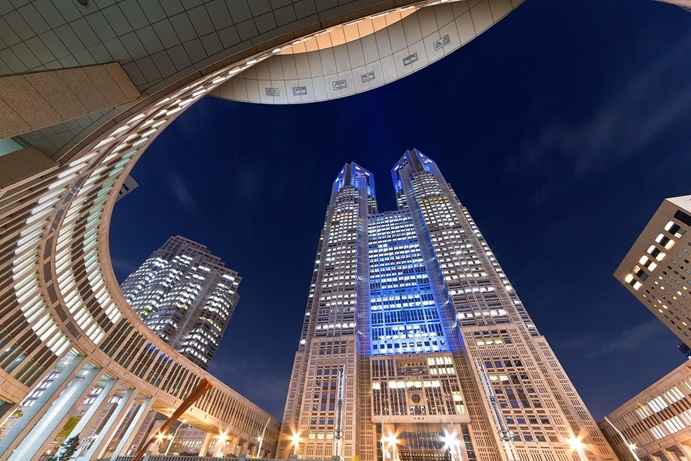
Go up the Tokyo Metropolitan Government Building for great views. It is free to the public. You can buy drinks and snacks at the observation deck. Visitors can play the piano before the crowd. We heard amazing pianists while eating ice cream and enjoying the spectacular views. From this vantage point, you can see the Japan National Stadium used for the 2020 Olympics.
5
If you are near Shinjuku station, go inside and find the location of the JR lines. On the morning of the 5th day, you must go to this area of the station to board the Fuji Excursion train that brings you directly to Fuji. There are more details further below. We found it helpful to locate the JR lines beforehand – it made our travel day less stressful. Shinjuku Station is the busiest train station in the world so it can be overwhelming. It has an average daily passenger throughput of 2.7 million people!
6
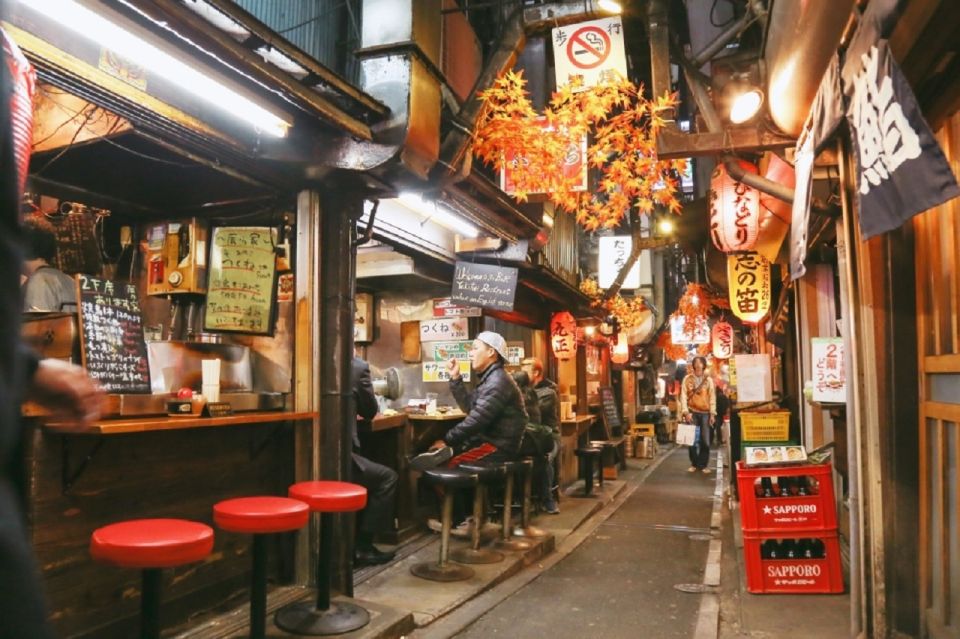
Check out the Shinjuku Golden Gai on your own before the food tour. The tour takes you through this area at a quick pace, so if you want to spend more time exploring, now is the time to do it. This area has ~ 200 stores crowded together. There are many retro buildings and signages. Dining options in this area includes curry, izakaya menus, ramen, Japanese-style Western food, Italian, and French.
Day 4 – Shibuya
Shibuya is a major commercial and finance center. Shibuya houses two of the busiest railway stations in the world, Shibuya Station and Shinjuku Station. Shibuya has an estimated population density of 15,149.30 people per km².
Day 4 Plans – Shibuya
1
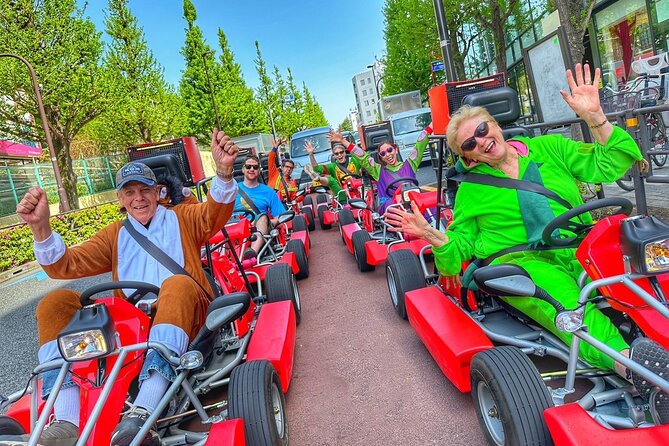
Sign up for a Go-Kart tour in Shibuya. You will drive the carts through the famous Shibuya Crossing dressed up in a character costume and feel like a celebrity.
2
In the morning, walk to the Meiji Shrine (Meiji Jingu). This shrine is in the middle of a dense forest. The park is beautiful.
3
Spend the rest of your morning to early afternoon in the Harajuku district of Shibuya. Harajuku is known for street art, fashion, cosplay shops, and vintage clothing along Takeshita Street. Omotesando Avenue has more trendy bars and restaurants. Find a purikura photobooth where you can photoshop yourself and create fun pictures. Laforet Mall is a multi-story mall that has a focus on HaraJuku Fashion. This ranges from maid/college girl to high fashion to grunge/punk. There are many Instagram food/cafes in this area where you can taste giant rainbow cotton candy and elephant shaped ice cream.
4
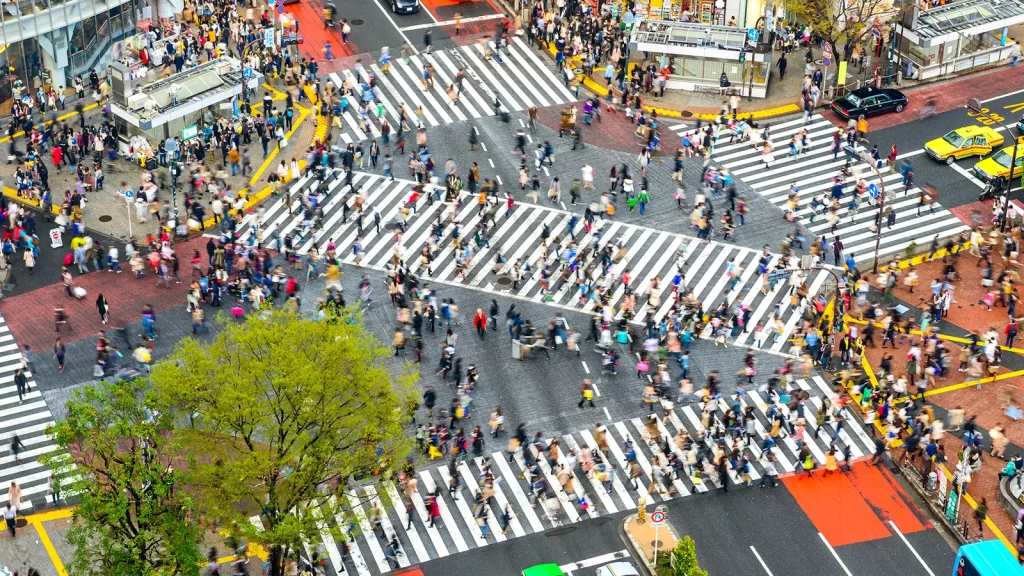
Go to the rooftop viewing area at Magnet by Shibuya 109 (store). Enjoy a beer, coffee or lemonade at the top and look down onto Shibuya crossing. This is a great spot to take a video of the famous crossing.
5
Wrap up your day with the Shibuya Night Bar Hopping Walking Tour
Day 5 – Travel to Mt. Fuji
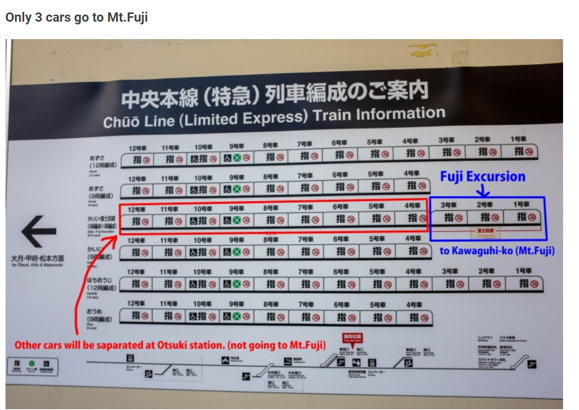
If you visit Fuji by train, the easiest way to get there is via the Fuji Excursion on the JR East Railway. This allows you to take a direct train to Fuji without having to switch trains. Visit the JR East Website and create an account with your credit card information. Purchase a ticket from Shinjuku station to Kawaguchiko station. These trains typically run at 7:30am, 8:30am, and 9:30 a.m. and sell out way in advance. After you buy tickets, print out the bar code(s). When you get to Haneda airport, after clearing customs, there is a JR East Kiosk near the Monorail entrance which allows you to scan your barcode and print your tickets.
Day 5 Plans – Travel to Mt. Fuji
1
Get to Shinjuku station plenty of time before your train to Fuji departs. Shinjuku station can be overwhelming. Look for the JR lines and make your way to platform 9 or 10 (read the monitors for Fuji Excursion) You can also ask at information booth to confirm. Keep all your train tickets because you may be asked to show them while on the train.
2
Once you arrive at Kawaguchiko station, look to purchase discount passes for the Fuji/Hakone area. This allows you to utilize the buses, ropeways, boats, and some trains in the Fuji/Hakone area. Determine the best one for you. You will not be traveling back to Tokyo, so make sure you tell them that. Kawaguchiko station is very crowded!
3
Travel to your hotel via cab or local bus or take a bike ride around lake Kawaguchiko. This bike shop is a short walk from the Kawaguchiko train station. They will store your luggage while bike ride. We highly recommend staying in the Lake Kawaguchiko area for ease of transportation on the red bus line or via cab. Lake Kawaguchiko Area
4
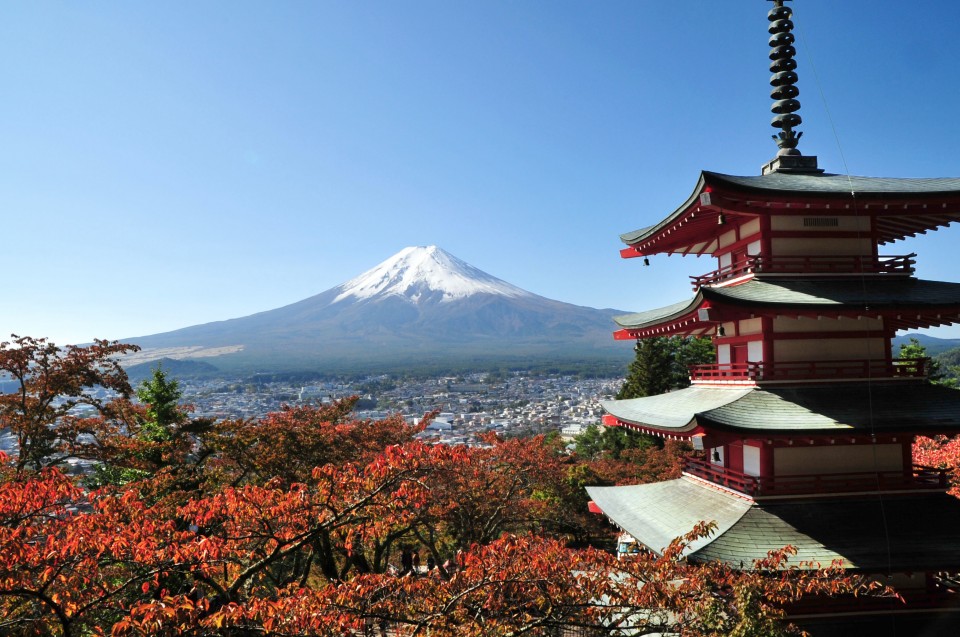
Drop your luggage at the hotel and do the bike ride (bike shop) around lake Kawaguchiko. Stop at Oishi Park on the north side of lake Kawaguchiko along your bike ride. This is a great place for views of Fuji, the lake, and to grab some delicious ice cream.
5
Take the Mt. Fuji Panoramic Ropeway for amazing views of Fuji and the Fuji area. We recommend doing this during your bike ride as the entrance to the ropeway is very close to the southeast part of the lake.
Day 6 – Tour the Mt. Fuji Area
Day 6 is a full day with a trip to Mt. Fuji’s 5th station and to the wind and ice caves. We recommend taking the bus if you purchased a Fuji pass in the Lake Kawaguchiko area.
Day 6 Plans – Tour the Mt. Fuji Area
1
Take the red bus or cab early to Kawaguchiko station. Ask where you get the bus to Fuji Subarui Line 5th station. These buses typically run once an hour, so know in advance when you can get the bus. It is about a 1-hour ride to the 5th station of Mt. Fuji. You can opt for a more relaxed and private experience by booking Fuji Private Tours.

2
Once at the 5th station, take time to explore. You can either make a full day out of it and hike higher towards the summit or spend an hour or so and then take the bus back down. Read more about the 5th Station.
3
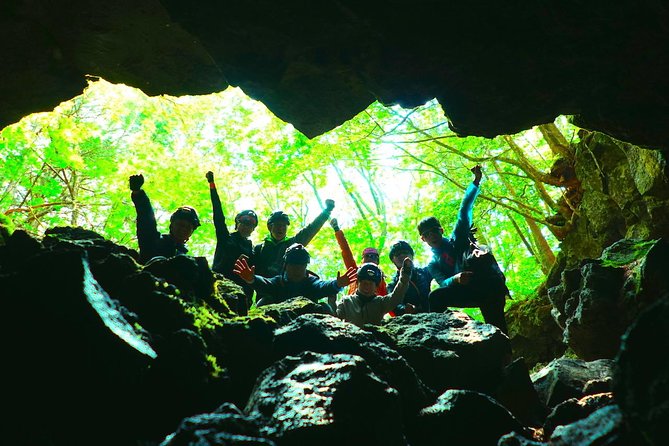
Once you arrive back in Kawaguchiko station take the blue bus to Fuketsu (Wind Cave). After you’re done with the wind cave, take a walk on the Takai Nature Trail that connects the two caves. Alternatively, you can book Ice Cave tours before you leave on your Japan trip. This option provides private transportation to the cave.
4
After you arrive back at your hotel, arrange for taxi transport from Fuji to your hotel in Hakone. See Hakone Hotels
The cab ride from Fuji to Hakone costs about $150-$200 USD. We thought it was worth it. The cab driver was professional and prompt. The cabs are super clean and spacious. The other alternative is to use local buses which take 3 to 4 hours.
Day 7 – Explore Hakone
Day 7 is a full day in Hakone national park and the Open Air Museum. Other Hakone ideas can be found here. Most visitors will do the circular route around the park. This can be completed in about 5-6 hours. We recommend an early start to avoid the crowds. Most people will follow the route recommended below in the various steps.
Day 6 Plans – Hakone National Park
1
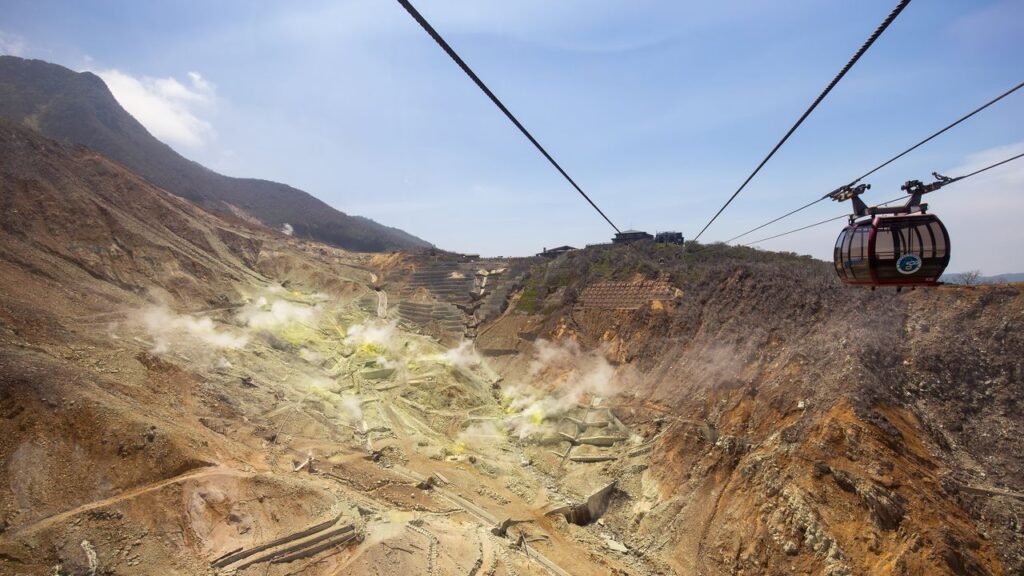
Begin your day by getting on the Tozan Railway in the village of Gora. The funicular railway will bring you up Mt. Kami. You will eventually transfer from the funicular to a cable car. The cable car will bring you to the top of the mountain where you will see great views of Fuji and the sulfur vents. Stop and taste a famous black egg at the top of the mountain.
2
You can then get on another ropeway which continues down the mountain giving way to great views of Lake Ashi.
3
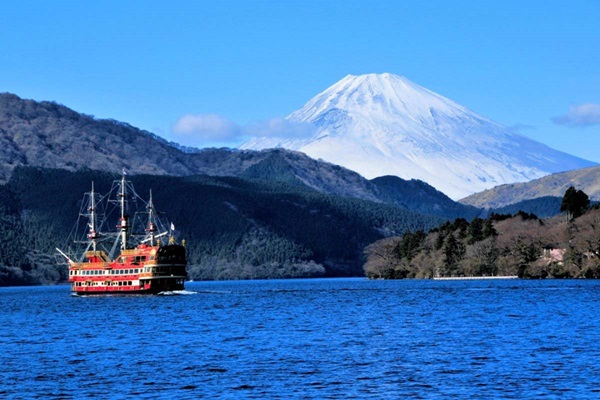
Once at the bottom, make your way to the “pirate” sightseeing ships that cross Lake Ashi. The journey takes about 40 minutes. Venture to the top of the boat for great outdoor views.
4
After debarking the boat, take a walk through the Old Hakone Checkpoint. This checkpoint was used by the Shogunate government in 1619 to control the flow of weapons and trade.
5
Leaving the checkpoint walk along Cedar Avenue. This is all that remains of the ancient road today. Towards the end of this “avenue”, you can see lovely views of a Japanese shrine against the lake and mountains.
6
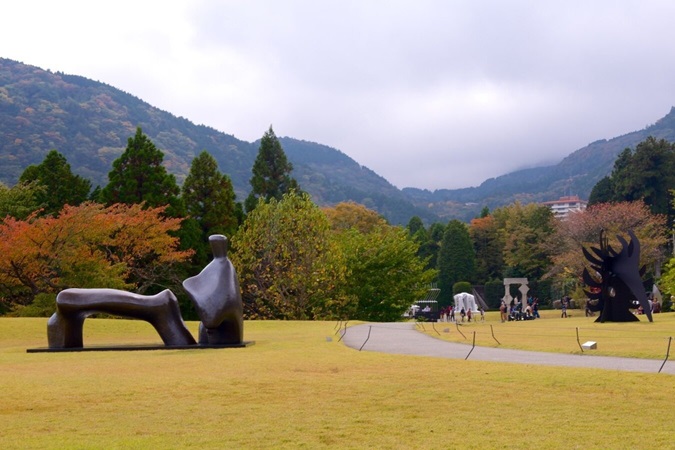
Catch a bus from Motohakone-ko station to Kowakien via the Hakone Tozan Bus (H). From Kowakien, walk to the Open-Air Museum. This is about a half mile walk, but it is all downhill. This mostly outdoor museum houses over 1,000 pieces. There are approximately 120 sculptural works on permanent display across the park.
6
We highly recommend Hotel Indigo for your stay in Hakone. It is very close to Gora station and a 20-minute walk from the open-air museum. It provides free transportation to Odawara station (~ a $60 USD value). Their restaurant has delicious food (best Wagyu beef we ate on our trip) and an outdoor footbath that can be enjoyed while sipping a coffee, wine or other tasty beverage on the outdoor deck overlooking the river.
Day 8 – Travel to Kyoto
Day 8 is a half day travel day to Nara. Begin your journey from Odawara station about 30 minutes outside of Hakone. This will be your first Shinkansen ride of the trip. Make sure to read our tips section above on how to book your Shinkansen ride in advance. Pay attention to your booking. Many times, when traveling from Odawara, you may have to switch trains before reaching Kyoto. It’s easy, but make sure to pay attention to the booking details.
Day 8 Plans – Travel to Kyoto
1
Check into your Kyoto Hotel.
2
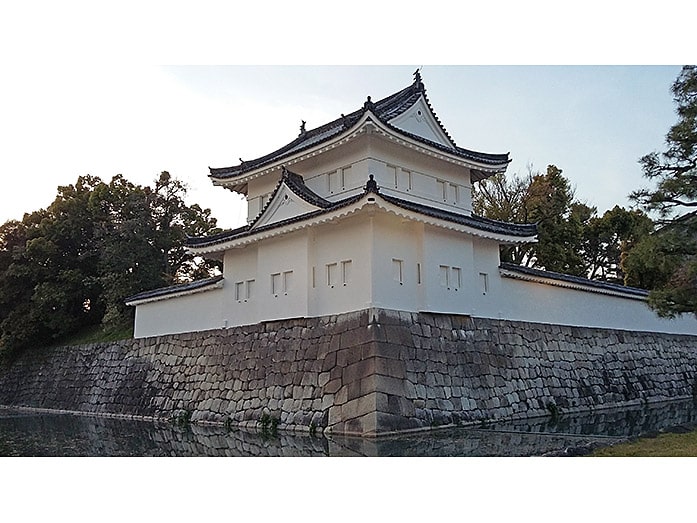
Depending on your choice of accommodation, you can relax at your hotel or if feeling energized, head to Nijo Castle and/or to Kinkaku-ji (a Buddist Temple and top attraction in Kyoto). These are about 1 mile from each other. Here are some great tour ideas in Kyoto.
Day 9 – Explore Kyoto
Today is a full Kyoto experience. Your first stop of the day should be the Arashiyama Bamboo Forest. To get to the Bamboo forest from Kyoto station, take the JR Sagano/San-in (purple line) to Saga-Arashiyama Station. This is approximately a 15-minute train ride and then a 10-minute walk to the Bamboo Grove.
Day 9 Plans – Kyoto
1
The bamboo forest is free and has many areas to explore. There is a Japanese garden that provides great views of Kyoto once you make it to the top. There is a nominal fee for the garden.
2
After exploring the bamboo forest, make your way down to the Katsura River. Stroll along the river. You can rent various watercraft in this area. Check out the Arashiyama Monkey Park across the river.

3
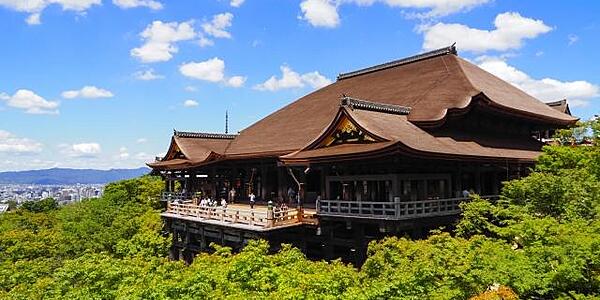
After the monkey park, cross the bridge again and stroll along the streets for great Japanese street food. From here go back to Saga-Arashiyama Station and take the train back to Kyoto station. From Kyoto station walk to the Kiyomizu-dera which is an iconic Buddhist temple on Mount Otowa.
4
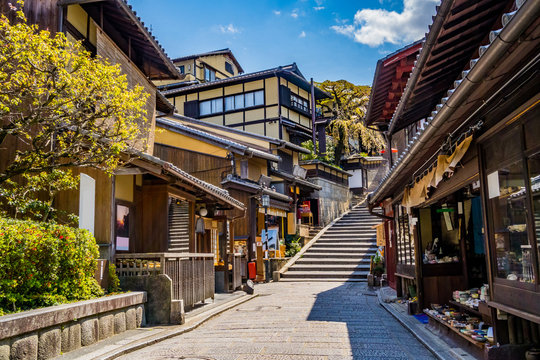
The next part of your journey brings you to the Sannenzaka Path (Higashiyama district). This is a bustling pedestrian street lined with souvenir stalls and traditional Japanese architecture.
5
If your schedule permits, walk to Philosopher’s path, a quaint area with pedestrian paths along a small stream. This is a great area to grab something to eat. It is not as crowded as the Sannenzaka Path.
Day 10 – Leave Kyoto and Embark to Nara
Today is spent at Fushimi Inari Taisha before embarking to Nara. We highly recommend getting an early start at Fushimi Inari Taisha due to enormous crowds. It can be crowded as early as 8:00 a.m.
Day 10 Plans – Kyoto to Nara
1
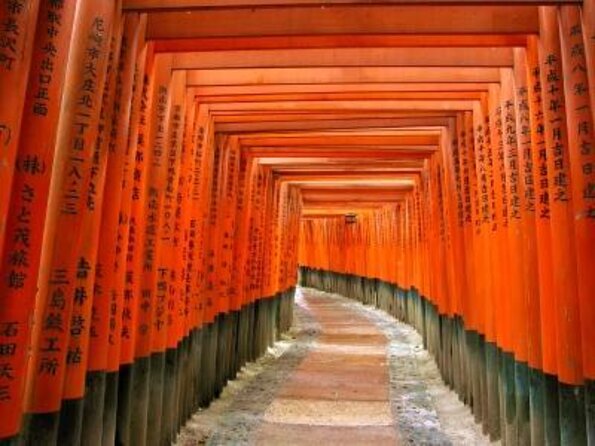
Embark to Fushimi Inari Taisha early in the morning. Board the JR West at Kyoto and head towards Nara. Disembark at Tofukuji Station. This is only one stop from Kyoto. (Do not get on an express train or you will miss your stop at Tofukuji Station). Fushimi Inari Shrine is famous for its thousands of torii gates. The trails lead into the wooded forest of the sacred Mount Inari. We recommend wearing comfortable shoes and athleisure wear to hike the upward trails through the gates.
2
From here, venture back to your hotel to pick up your luggage and make your way to Nara. Alternatively, you can choose to stay in Kyoto and take the train to Nara. If choose to stay in Nara, we recommend the JW Marriott. It is truly the best value for your money. They offer free transportation from Nara station to their hotel. Contact the hotel for exact pickup times. In our experience, they are very prompt.
3
After checking into your Nara hotel, walk to the Todaiji Temple. From here, you can also walk to the Isuien Garden near the Tojaiji Temple.
4
On your way back from the Todaiji Temple, go to the Nara Park. Take a relaxing stroll through the park and see the many deer. This will be a jam-packed day by many standards. You deserve some down time. If staying at the JW Marriott, have Japanese cocktails or tea at the lobby bar. The hotel architecture is amazing.
Day 12 – Explore Osaka
From Nara station you can take the train to Osaka station for the day. I recommend a later start to this day as the previous day had a lot packed in.
Day 11 Plans – Osaka
1
A great place to start is the Umeda Sky Building or Kuchu Telen Observatory for great views of the city.
2
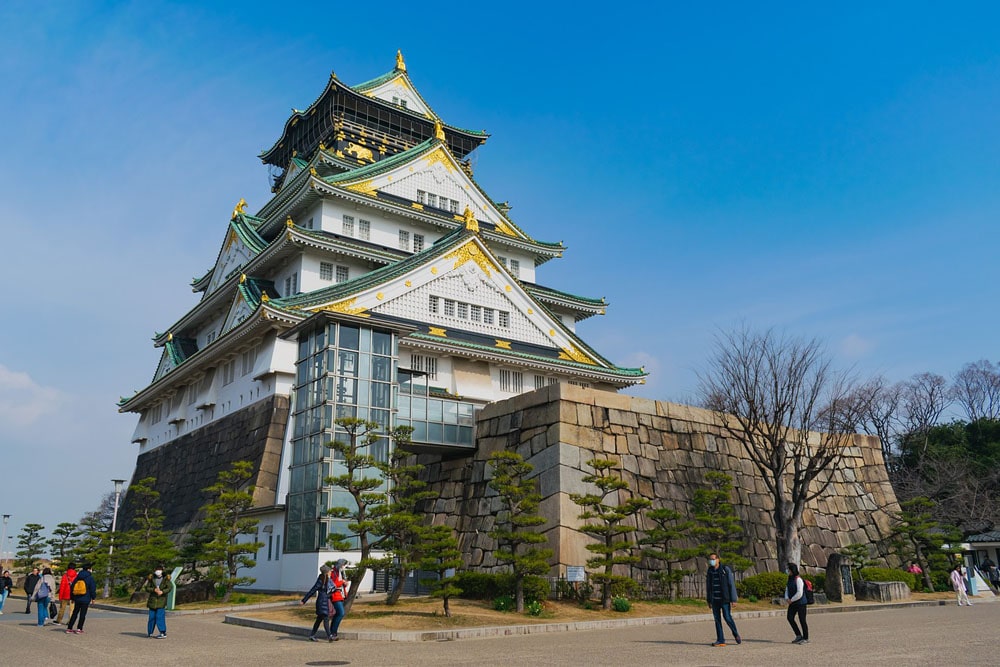
Venture to Osaka Castle, featured in the recent FX Shogun miniseries. This was the site of key moments concluding the Japanese civil wars of the Sengoku Jidai.
3
Check out the Dotonbori. This is the canal side entertainment district. Here you will experience large, illuminated signboards. The most interesting signboard is the image of a runner crossing the finishing line, which is seen as an icon of Osaka within Japan.
4
Depending upon your preference of staying in the same hotel for a few days or jumping from one hotel to the next, you could stay in Osaka since it is closer to your final stop of Hiroshima. If you stay in Osaka for one night, we recommend Courtyard by Marriott. This hotel is conveniently located to Osaka station, which will easily get you on the Shinkansen the next morning.
Day 13 – Travel to Hiroshima through Himeji
Day 12 begins either in Nara or Osaka (depending on where you decide to stay). If leaving from Nara you must take the local train to Osaka station to board the Shinkansen to Hiroshima. If decide not to visit Hiroshima, you can still arrange for a Half day private tour of Himeji Castle from Osaka. When booking the Shinkansen to Hiroshima, book a stop in Himeji for approximately 4-5 hours so that you can tour the castle and have lunch. You’ll also need a place to store your luggage while at Himeji Castle. While there are lockers at the Himeji station, they are often sold out. For a nominal fee, consider making a reservation for your bags at Nippon Travel Agency in the Himeji train station. We used their luggage storage service and highly recommend it
Day 13 Plans – Himeji and Hiroshima
1
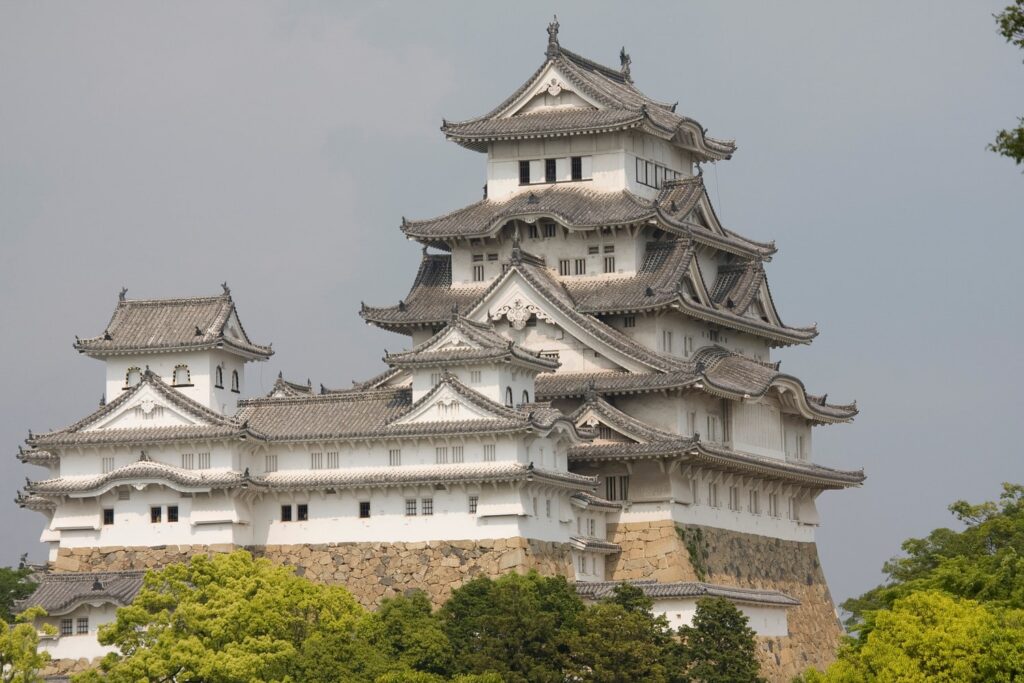
Travel from Nara or Osaka on the Shinkansen to Himeji. Himeji Castle is about a 20–30-minute walk from the train station. The castle can get crowded. We recommend getting an early start to avoid the crowds. There are many steep stairways in the castle so be prepared to climb.
2
Next, venture to the Kokoen garden of Himeji Castle. The gardens feature a pond with a waterfall, a pine tree garden, a bamboo garden, a flower garden, and a tea garden where you can enjoy Japanese green tea.
3
After spending your morning in Himeji, grab lunch, pick up your luggage, and jump on the Shinkansen to Hiroshima.
4
We recommend staying at the Sheraton Grand Hiroshima Hotel. The hotel is conveniently located adjacent to Hiroshima station. Consider relaxing at the hotel for the rest of the evening or taking a walk to the Hondori shopping street for dinner.
Day 14 – Explore Miyajima Island and Hiroshima
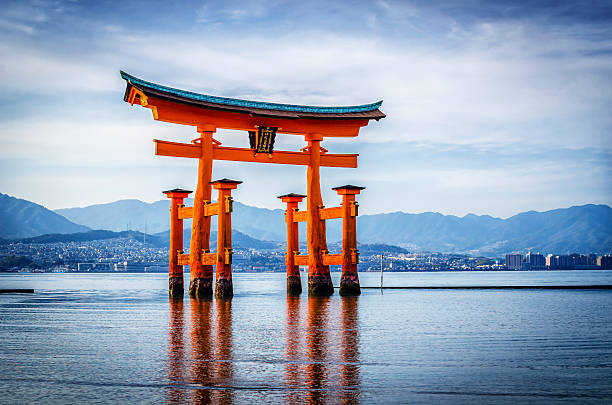
The morning to early afternoon will be spent exploring the island of Miyajima off the coast of Hiroshima. Miyajima is also known as Itsukushima. It’s known for forests and ancient temples. Just offshore is the iconic, orange Great Torii Gate. This marks the entrance to the Itsukushima shrine. Its highly recommended to get an early start to help avoid large crowds.
Day 14 Plans – Miyajima and Hiroshima
1
Travel from Hiroshima station to Miyajima via the JR San-yo line from Hiroshima Station to Miyajimaguchi Station. Take a 5-minute walk from Miyajimaguchi Station to the Miyajimaguchi Pier where you catch a short ferry ride to Miyajima Island. Alternatively, you can find Miyajima tours here.
2
At the Miyajima pier, walk closer to the Itsukushima shrine to snap photos of this iconic spot. Next, make your way to the Daisho-in Temple and walk through the small Momijidani Park.
3
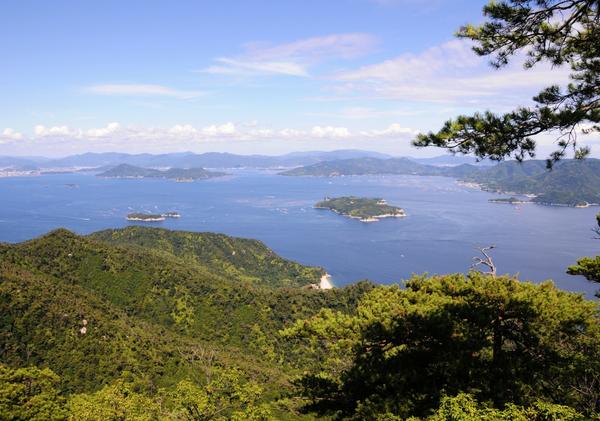
From the park, venture up the hill to reach the boarding station for the Miyajima ropeway. The views from the top are spectacular. You can then board a second ropeway which brings you higher up and offers more great views. You can walk down the mountain instead of riding back down, but the trails are fairly steep. We took the ropeway back down.
4
After you have taken in the views and returned down the mountain, start the journey back to your hotel.
5
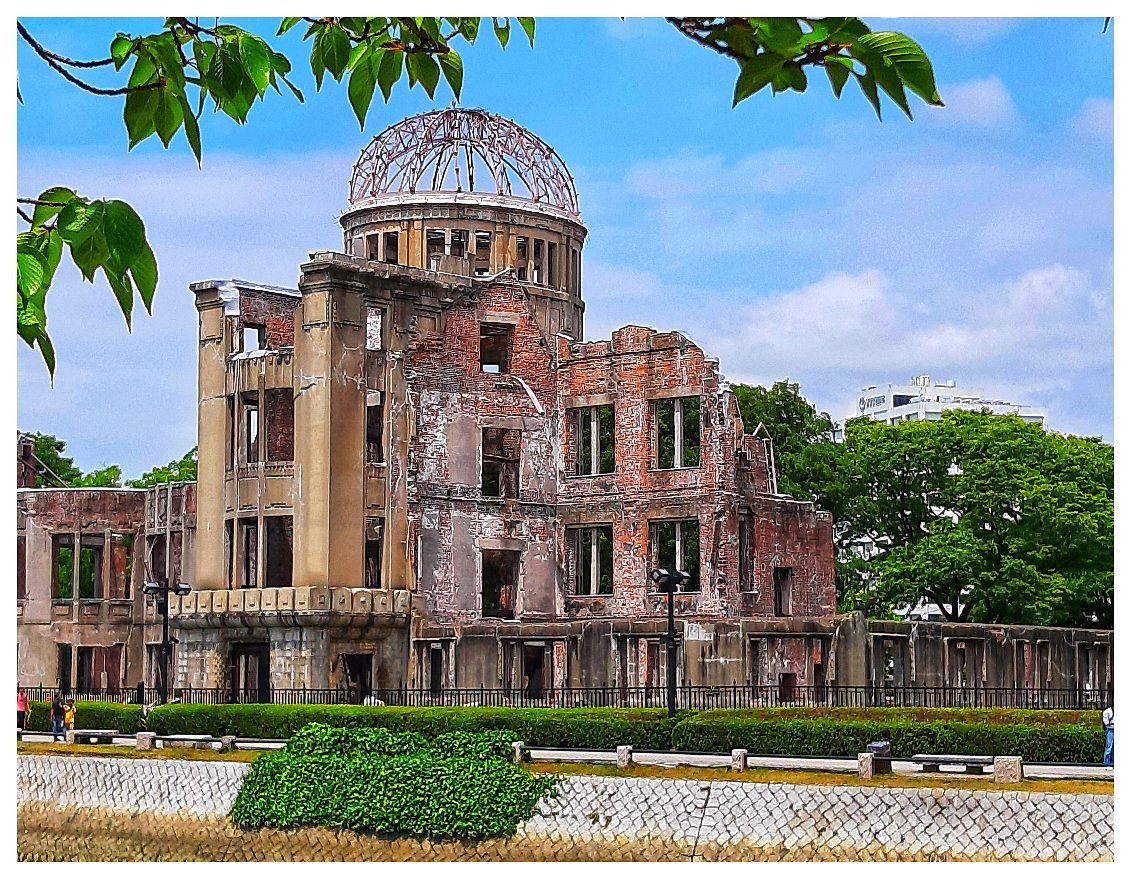
Once back at the hotel, depending on when you leave Hiroshima the next day, either relax or venture to Hiroshima Peace Park. This is the site of the atomic explosion during WWII.
Day 15 – Explore Hiroshima and Return to Tokyo
We suggest leaving Hiroshima on the train to Tokyo around 2pm and flying back to your home country the next day. Alternatively, you can leave Hiroshima early and get to Tokyo in time for your afternoon flight back home. Depending on your home country, this could be a fair amount of travel for one day. Leaving Hiroshima at 2pm allows plenty of time to explore Hiroshima Peace Park, if you don’t do it after returning from Miyajima.
Day 15 Plans – Finish exploring Hiroshima and back to Tokyo
1
Hiroshima Tour Ideas is a great place to look at options for your day. We recommend exploring the Hiroshima Peace Park.
2
After exploring the park, head to the Hiroshima Peace Memorial Museum. There is a small entrance fee.
3
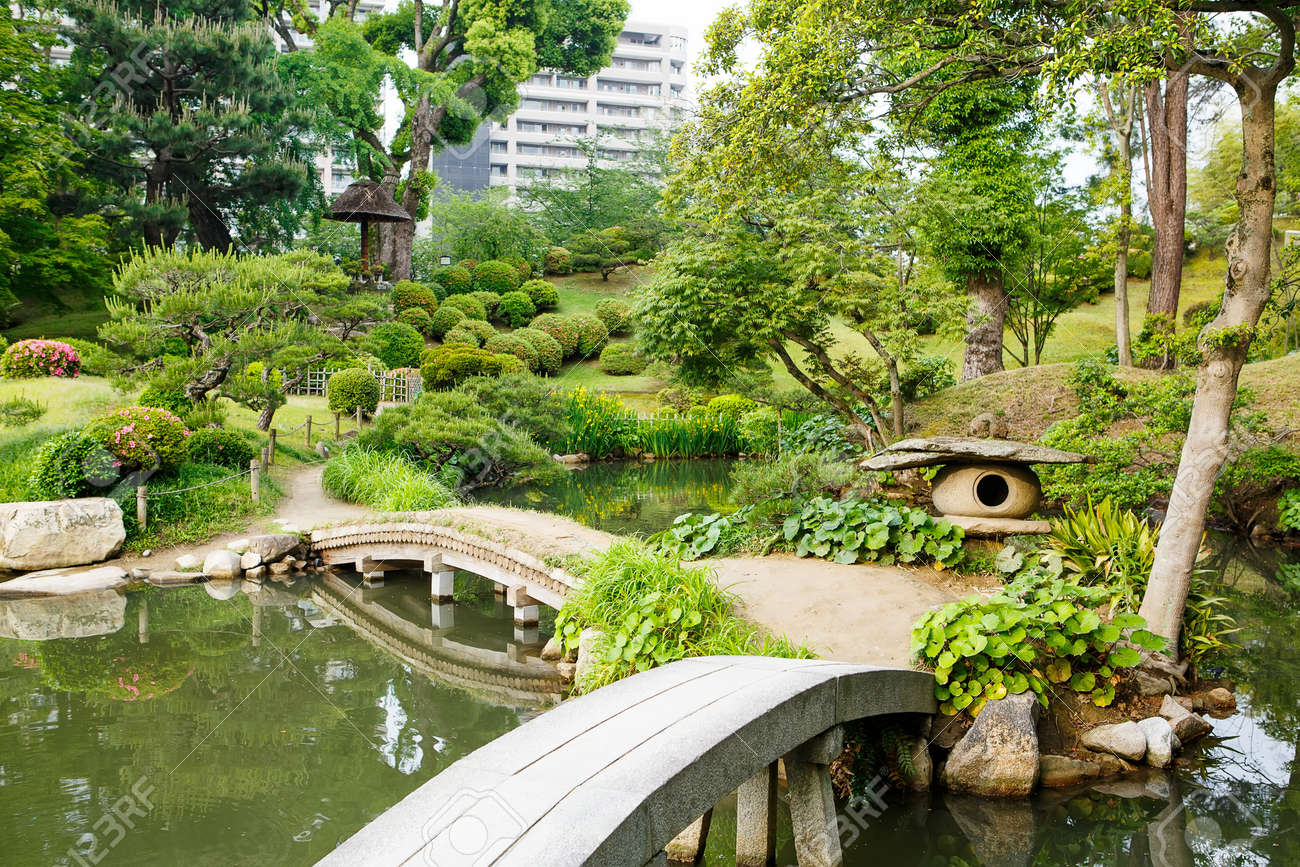
If time permits, head to Hiroshima Castle and then to Skukkeien Garden. From Skukkeien Garden, it is a short walk to pick up your bags at the Sheraton Grand Hotel Hiroshima
4
Grab lunch at the hotel or Hiroshima station and then depart on the Shinkansen to Shinagawa Station (Tokyo). From Shinagawa Station you can take the Keikyu line to Haneda which is a 20-minute ride. Or, if flying out of Narita, take the Narita Express from Shinagawa Station. If staying at Haneda airport, you can consider taking the monorail or Keikyu line into Tokyo for a final Japanese meal after checking into your hotel.
Day 16 – Travel from Tokyo to your home country
We recommend staying at an airport hotel for your last night in Japan. You will be well rested for your journey home and have peace of mind knowing that you are already at the airport. We recommend Hotel Villa Fontaine Premier Haneda Airport. This is connected to the international terminal at Haneda and has a few restaurants. It also is connected to the Haneda shopping mall which is just outside the hotel.
Other Useful Info
- 7-Eleven is a popular convenience store with locations all over Japan. They are quite different than the 7-Eleven’s found in the US. The Japanese stores offer tons of affordable and healthy options for quick meals such as sandwiches (their eggs sandwiches are so good), bento sets, onigri, salads, smoothies and tons of beverages.
- Japan is the cleanest country we ever visited and surprisingly, it is difficult to find trash/rubbish bins on the city streets. Be prepared to carry trash with you and discard it at your hotel or major traffic areas like train stations.
- In our experience there is little English spoken in Japan. We recommend downloading the free Papago app. We found it very useful throughout our trip and many restaurant/hotel employees use it to communicate with their non-Japanese patrons/guests.
- We used our debit card to pay for most purchases. The Capital One 360 ATM card does not charge a foreign transaction fee. Some vendors only take cash, so it was helpful to carry minimal yen with us on our trip.
- We only brought one medium suitcase and one backpack per person. Most train stations have escalators and elevators. We found these packing cubes super useful in organizing our luggage during the 16-day trip. We did not have to do laundry.
- There many food options in Japan. We were spontaneous with food throughout our trip and did not have reservations for anything other than Pizza Studio Tamaki in Tokyo. We ate at the restaurant’s Higashi-Azabu location which can be accessed via the Oedo subway line E21. We emailed our hotel concierge two months before the trip and asked him to make a reservation on our behalf. The pizza was comparable to those we have previously enjoyed in Napoli, Italy. This restaurant is popular among locals so reservations are a must!!
